
My husband took part in a carnival for his college.
Do you know those booths with all the fishbowls and you have to loop a ring around the top of a fishbowl and you win a fish?
That's the one he was running.
Guess what he brought home?
Yeah....three fish.
Yay......
I guess the kids have been nagging me about getting them some fish.
I've also been storing an antique gumball machine in the basement, knowing that someday I wanted to turn it into a fishbowl.
This was just the push I needed!
Directions:
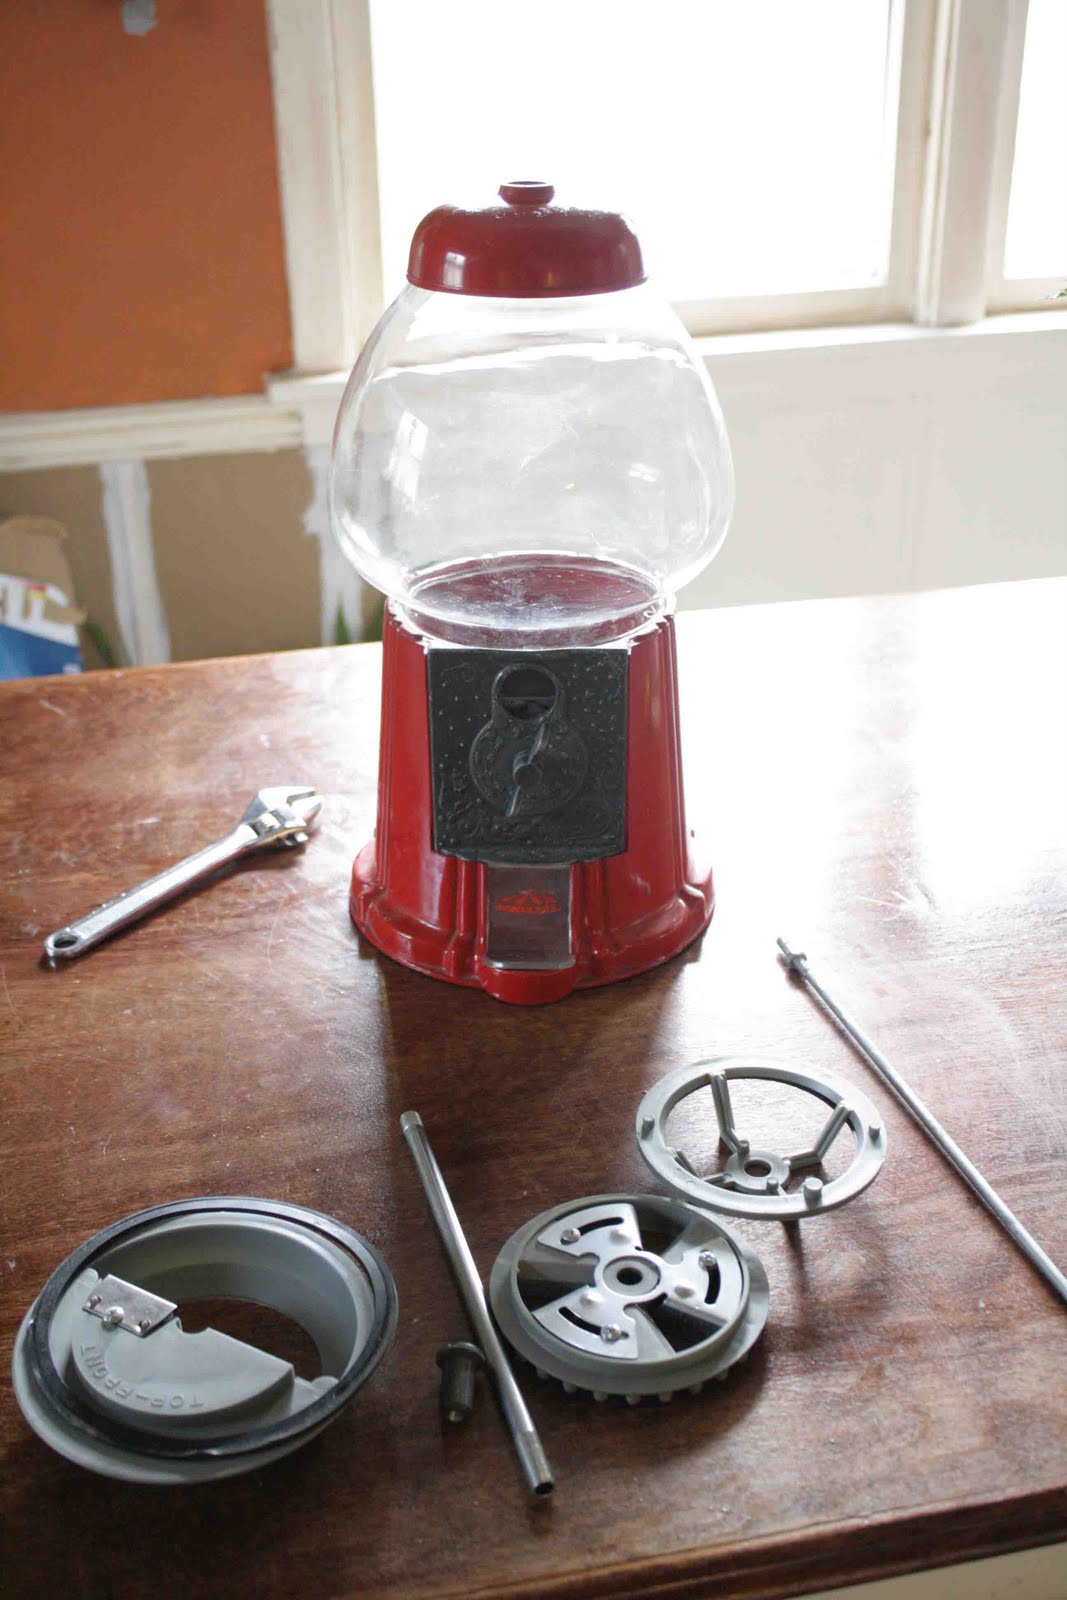
Start with an awesome gumball machine.
(Note: not all gumball machines will be built like this one, so you may have to modify this a bit)

The top will have a screw in it.

Unscrew it and take it out.

Once you life off the top, you will be greeted by this thingamajig:

Take it out and this is what you should have:

At this point, you should be able to remove the bowl and get some glass cut.
Go to your local glass cutter with the bowl and ask them to cut a circle for the bottom of the bowl. Make sure to mention that the measurements should be taken from the outside of the bowl, not the inside. You want to be able to set the bowl ON TOP of the glass, not have the glass sit within.
So this is what you should have after removing the bowl.

This mechanism should lift out easily.

There will be a similar mechanism underneath that.

This one lifts out just as easily.

Now you should be left with just the base and the rod.

This is threaded at the bottom, so just twist it off.

But this rod is a double rod. A rod inserted inside of a rod...
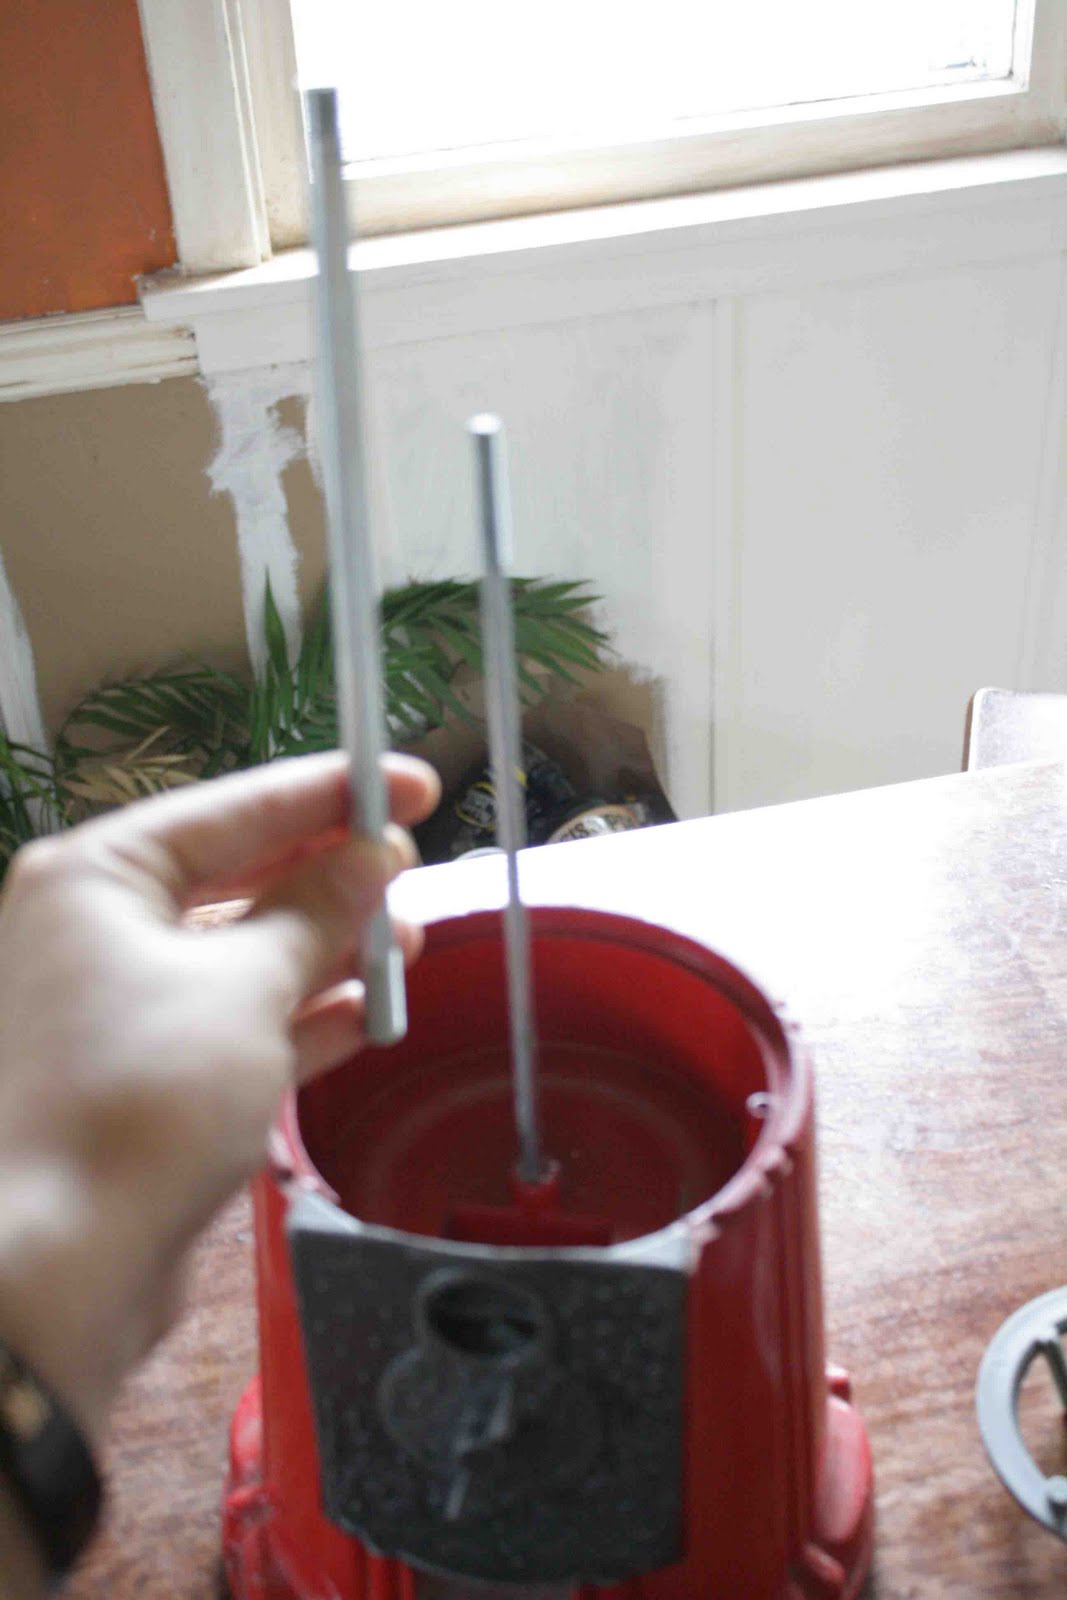
...but this enables you to take the entire base off the platform.

This 2nd rod is also threaded. There should be a nut on the bottom securing it in. Turn everything over, take off the nut, then start twisting the rod until it comes off.

Now, that threaded rod is what keeps the bottom from falling off the base, but we needed to rod off so that we could set a fishbowl (with a bottom on it) on top of the base.
So my solution was to put some Mighty Putter around the edges to keep the bottom platform in place. I gently tapped in on with a hammer.

So this is what you should have, and all the parts on the table can be tossed in the garbage.
If you've gotten your bottom fishbowl glass plate back from the glass cutter, you can now secure it to the bottom of this fishbowl.
You can NOT use any silicone. It has to be special aquarium grade. I had to go to Mighty Pet (a local store, but I'm sure anyone could find it at any specialty pet store....just not Walmart, I tried!) to find it. The staff was very helpful.
This is what it might look like:

Follow the directions on the tube.
Put a generous amount of silicone around the bottom lip of the bowl and carefully put the cut glass on top of it. Wait the directed amount of time.
You might have to go back and add more silicone around the inside part of the bowl, sort of like caulking a tub.
I had a leak the first time, so I had to do this.
I greatly recommend it!
I also added silicone to the base so that the fishbowl would be stuck onto the base. With this fishbowl being top-heavy, I didn't feel it was secure enough just sitting on the base.
After waiting for all the silicone to cure, add your water, bowl decorations, rocks, and of course...your new buddies!

Meet Red, Desmond the Moon Fish, and John!


Brittany, I have one of these gumball machines sitting in my basement. One question...the screw hole at the top, it is left open, correct? for air supply?
ReplyDeleteThank you for the wonderful project.
I have one sitting in my garage! This is perfect!!
ReplyDeleteI love this! I'd like to invite you to post it on Masterpiece Monday at Boogieboard Cottage. The link will be up all week, I hope you can join in. Have a nice week, Mary :O)
ReplyDeleteI did take the screw on top off of it. Large aquariums are vented, so I'm assuming there needs to be some sort of air supply. I should ask my brother-in-law...he went to school for marine biology!
ReplyDeleteAlso, if anyone decides to make this project, send me eiter 1.) a link to your blog featuring your project, or 2.) email me a photo by clicking "Contact Me" at the top of the page. I'll feature it!
ReplyDeleteI have one of these machines and always wondered how that was done. Thanks!
ReplyDeleteOh my gosh!! This is absolutely fantastic! Lots of work and steps but well worth the effort right?!
ReplyDeleteLove this idea! I've been wanting to do this for my little guy's room but I need to come across a cheam gumball machine! So cute!
ReplyDeleteThis is brilliant! What an excellent project. I'm going to include this in my Today I Love post if thats ok :)
ReplyDeleteHi, Brittany! I'm admiring all your creative posts here so can you please share them with us at the Creative Bloggers' Party & Hop? Hope to see you there at the party :)
ReplyDeleteHey girl...thanks for linking up this week. I've had a blast co-hosting. This is SO cool!
ReplyDeleteWho would have thought of making a gum ball machine into a fish bowl? Genius! Really appreciate you sharing this great post with us at the Creative Bloggers' Party & Hop.
ReplyDeleteSo impressed by this ! Hi , I'm Ava your newest follower from Australia...Beautiful blog :)
ReplyDelete