
I'm finally showing you the living room!
To date, this is my favorite remodel. Getting that stinky carpet out was a blessing!
I'm going to show you a series of "before" photos. These were taken before I even got my current entertainment center.
Don't mind the huge general mess. I didn't want to clean for some "before" pictures.

Yes, this is usually what it looks like.

I won't lie.
;)

So
Much
Stuff....
Ugh.
So we purged boxes and boxes of stuff.
Once the floor was done, I started on the board and batten.

Only the boards needed to be primed.

I used 1x4 boards for the baseboard and chair-rail, then 1x3 for the verticle boards.
I spaced them 18" on center.
The furniture was squished in the middle of the room for a while.
The screens had to be taken out of the windows because the windows were going to be painted.

(gasp)
I painted real wood!
;)
Sooooo....
Do you finally want to see how it turned out, my patient friends?

Much more airy!
Besides the formal furniture (which will be replaced next year!), it feels so much more open and clean!

I love that area rug!

We replaced our bookcase (that my father-in-law made!) with a toybench (that my father-in-law made!)
You'll see why it's gone in a second (don't worry, we didn't toss it, just moved it to a different room!)

And my vintage "Rubbers" box came in. It's even better than I had hoped! It perfectly fits "his" and "hers" magazines, and the other slot is perfect for a throw blanket!
And what a nice conversation starter.
;)

The patio door got a white makeover as well.

I rearranged some decor for the entertainment center.
Don't you like how it pops off the white wall?

Here's a closer look at my new vases.
They were given to me by a good friend, Alicia, before she moved two states over.
=(
This is what they started out from.

She tried making them candles by just melting a ton of candles.

And it didn't turn out.
So I had to fix it.

I put a sheet of wax paper on a cookie sheet, placed the vases upside-down, then turned the oven to it's lowest setting (170 degrees).
Don't worry, it won't bust the glass!

After a while, the wax melts to the bottom.
Just keep changing out the wax paper, and before you know it, they will be clean!
Then it got a few coats of white spray paint.
Much better!

A big bag of building blocks for my daughter
<3

And the topiaries got a makeover.

We needed to replace the ceiling fan, so I went with this tropical-looking one.
It's so fun!
(P.S. Beer-induced Wii Tennis near a ceiling fan is NOT a good idea!)
You can kind of see the old fan there.
Ugly.

Here's a better view of the new bamboo roll-up shades.
These are the best (and cheap!) option if you want a beachy cottage bungalow look!
And of course, there's always a catch!
I'm not actually done....
See this wall?
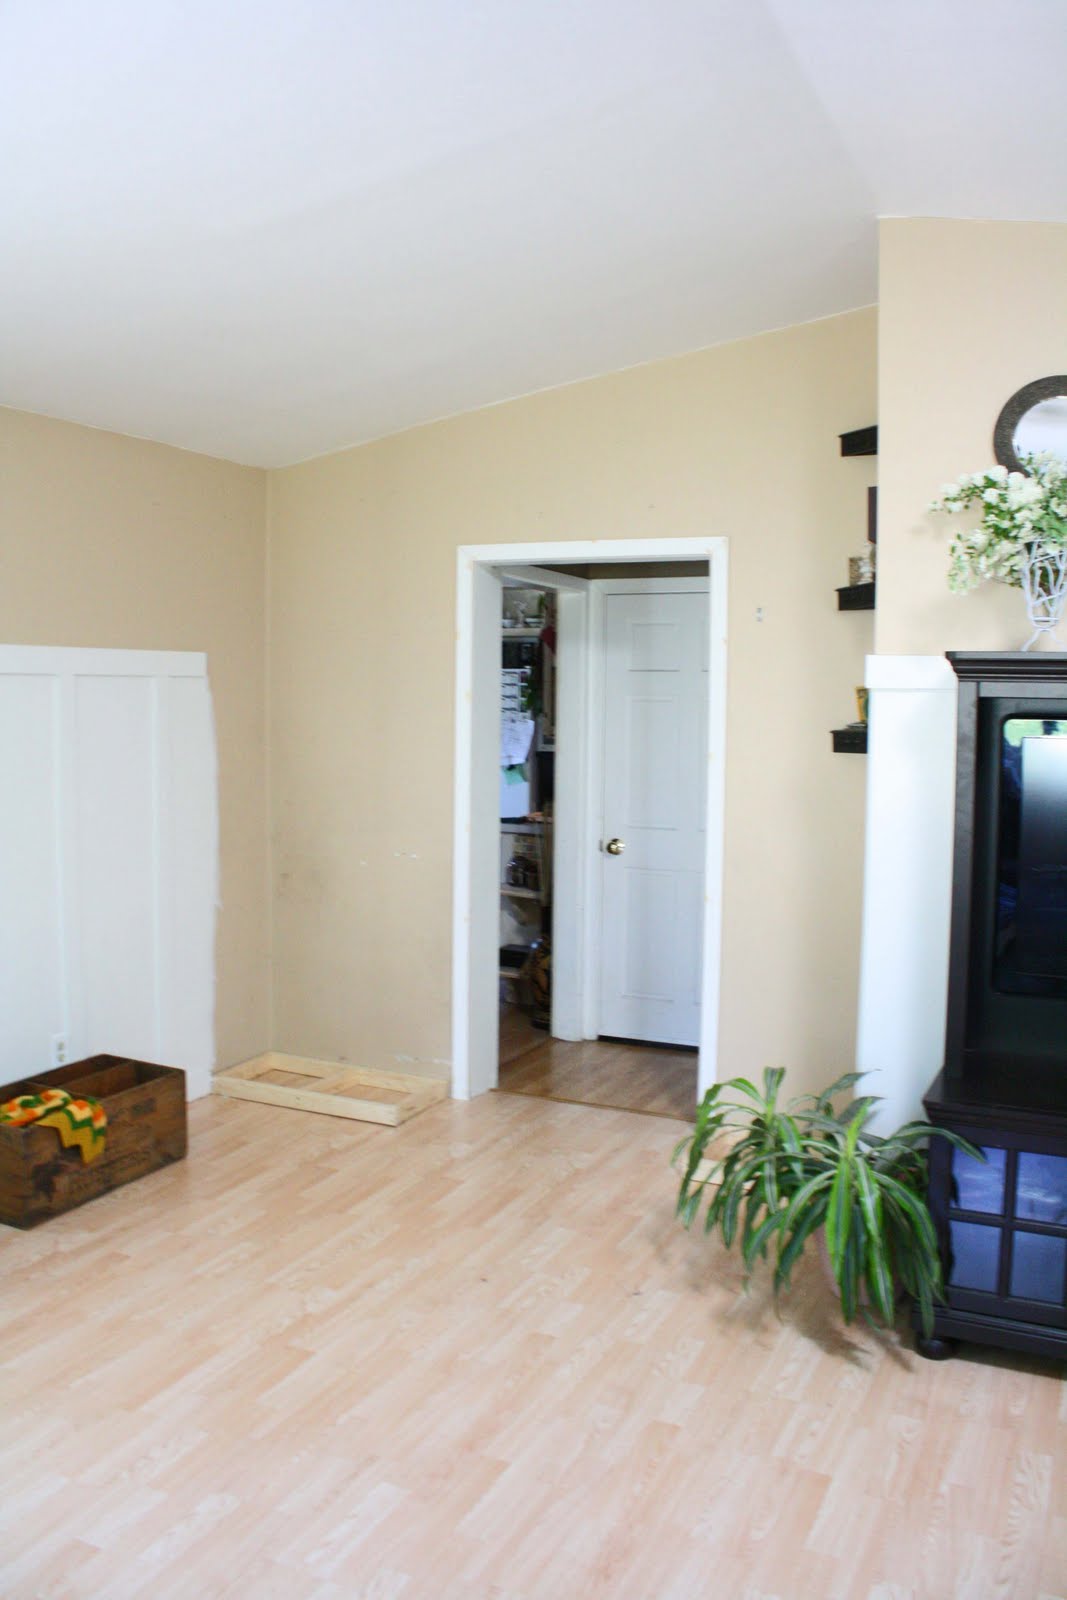
I didn't even bother painting it because we (as in I) will be making built-in bookcases surrounding the door.
This is what it will look like.

Don't laugh at my Photoshop skills....
lol.
This is my husband's face after learning that it could take me another 2 weeks just to make the bookcases.

Haha!
Anyways, the end of the month is coming here quickly. I'm just telling ya now, I've barely covered May's To Do List!
This room took more time than I thought, mostly because I decided to do a major overhaul of my living room, not just installing new flooring, lol!
I hope everyone likes it, and I will "see" you soon!


awesome, awesome, awesome! looks fantastic, I love it!
ReplyDeleteabsolutely love, love, love the new look.
ReplyDeleteAnd I love the Look on your hubby's face...that cracked me up!
What a transformation of that room.
Definitely opens it up and makes it look airy. Give it that cottage feel, with your current furniture. Not so beachy, but I prefer cottage... either way. Wow!
You should be proud!
As I bet your hubby is too.
What a beautiful job! An incredible transformation. I need to do this!
ReplyDeleteif you could have heard my reaction to this post, you would know that i literally just said "HOLY CRAP NO WAY!" out loud. this is a STUNNING redo. it looks like a page from a pottery barn catalog, no joke. you deserve some mad props!
ReplyDeleteIt looks absolutely gorgeous! You did a great job!
ReplyDeleteI LOVE it!!! Great job! What a great idea about the built in bookcase! You should do a tutorial on that :)
ReplyDeleteJust loving your new board/chair rail! Just amazing , and love how you've transformed your room. Great job!
ReplyDeleteSarah-
ReplyDeleteYeah, I think I just may do a tuturial.
Thanks for the idea!
I've already been cutting plywood today, so I hope it's done in the next couple weeks!
You did a great job! I LOVE that board and batten!
ReplyDeleteThe room looks fantastic! Great job. I just love the board and batten. I think our husbands need a support group for "wives who take on projects." Ha!
ReplyDeleteIt looks so good! Great job!
ReplyDeleteThanks for linking and making this the most successful Modern Craftswoman Monday so far! Rory
ReplyDeleteWhat a change, it doesn't even look like the same room.
ReplyDeleteYour room looks great! Try putting your candle holders in the freezer next time for a little while, the wax should just pop right out.
ReplyDeletewhat an awsome makeover, well done!
ReplyDeleteHoly cow, I can't believe this is the same room! Great transformation :)
ReplyDeleteWow! Amazing transformation! It's like a totally different house. I can't wait to see the bookcases. Looks like you're a Knock Off Wood fan too? :) Great job!
ReplyDeleteGreat work! Your whole room looks so awesome.
ReplyDeleteFYI: Sabrina Soto on HGTV says all furniture on or all off an area rug.
Wow, what a transformation! Your home looks great! I absolutely LOVE the board and batten... it really brightened up the room!
ReplyDeleteI always use the same method as Nicole and freeze my vases to get the wax out. It works every time :)
I just saw this at the DIY showoff! Looks amazing! I did the same thing to my living room a year ago and have never regretted it! It made me want to transform everything in my house to white!
ReplyDeleteI love your blog! I've been stuck here for quite a long time tonight browsing!
This is more like a miracle than a home transformation. AMAZING! AND GOOD FOR YOU, as you get to live there.
ReplyDeleteYou must feel wonderful....
btw. join our DIY linking party EVERY WEDNESDAY (opens this Tuesday...) and ...
be sure to also stop by Monday as we have a free jewelry give-away gift certificate by a jewel artisan who is very talented. you'll love all her pieces...
LOVE it! Way to go, it must feel great to have it done...I already saw that you finished your built in bookshelf too! :)
ReplyDeletethis is amazing! You did a fantastic job!! I love it!!
ReplyDeleteGorgeous!!!! I love it!!!
ReplyDeleteIt's beautiful!! I love it, formal furniture and all! :)
ReplyDelete